If you're a construction contractor, project manager, site supervisor, or skilled tradesperson looking to elevate your drywall finishing skills or streamline project outcomes, this is just the blog you got to read. Drywall finishing is a critical step in construction and home improvement projects, transforming raw walls into smooth, professional surfaces ready for paint or texture.
This comprehensive guide will walk you through the essentials of drywall finishing, from taping and mudding to sanding and texturing, while offering expert tips to achieve flawless results. Whether you’re hiring talent for a project or honing your craft, mastering these techniques will ensure efficiency and quality on every job.
Understanding the Drywall Finishing Process
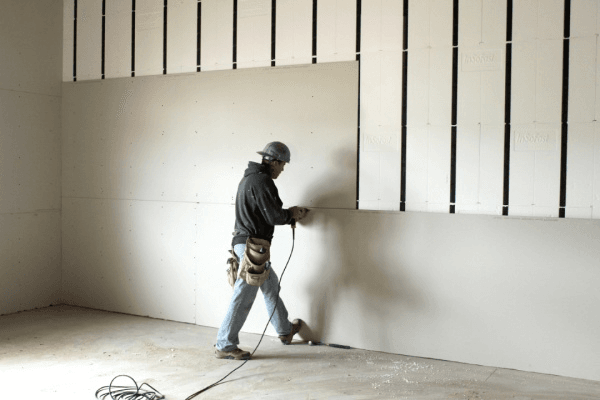
Drywall finishing is the art and science of preparing drywall for a final aesthetic touch, be it paint, wallpaper, or texture. It’s a multi-step process that, when done right, hides seams, screws, and imperfections, delivering a polished look. Let’s break it down.
What is Drywall Finishing?
Drywall finishing, often called “taping and mudding,” involves applying joint compound (mud) over seams, corners, and fasteners, then sanding it perfectly for a flawless appearance. It’s a crucial phase in construction that impacts the overall quality of a wall. The process includes:
Taping: Securing seams with drywall tape.
Mudding: Applying layers of joint compound.
Sanding: Smoothing the surface.
Texturing (optional): Adding a decorative finish.
For contractors and tradespeople, mastering this skill can set your work apart, ensuring client satisfaction and repeat business.
The 5 Levels of Drywall Finish
Drywall finishing is categorized into five levels, each suited to different project needs. Understanding these levels help project managers and supervisors determine the right finish for a job while managing costs and timelines.
Level 0: No taping or finishing. Used in temporary spaces or where aesthetics don’t matter.
Level 1: Basic taping and one coat of mud. Common in utility areas like garages.
Level 2: Taping with two coats of mud. Suitable for spaces receiving texture or heavy coatings.
Level 3: Three coats of mud, lightly sanded. Ideal for areas with flat paint.
Level 4: Three coats, thoroughly sanded for a smooth finish. Perfect for most residential projects with semi-gloss or gloss paint.
Cost Insight: According to industry data, Level 4 finishing can cost $0.45–$0.65 per square foot, depending on labor rates and region.
Level 5: A skim coat over the entire surface for a flawless look. Used in high-end spaces with critical lighting.
Time Insight: Achieving a Level 5 finish can take 3–5 days for a standard room due to multiple drying and sanding cycles.
Choosing the right level depends on the project’s budget, purpose, and visibility. For instance, a commercial office might require Level 5, while a storage room may only need Level 1.
Essential Tools for Drywall Finishing
Having the right tools is just half through in drywall finishing. Whether you’re a beginner tradesperson or a seasoned contractor, here’s what you need to get the job done efficiently.
Must-Have Tools for Beginners
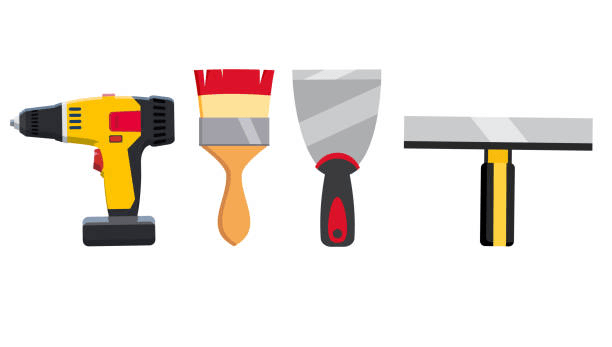
Drywall Knife (6-inch and 12-inch): For applying and smoothing joint compound.
Drywall Tape: Paper or mesh tape to cover seams.
Mud Pan: To hold joint compound during application.
Sanding Block or Pole Sander: For smoothing dried compounds.
Utility Knife: For cutting tape and trimming drywall edges.
These basic necessities are affordable and perfect for smaller projects or laborers who are just starting out.
Advanced Tools for Professionals
Automatic Taping Tools: Speeds up taping and mudding for large-scale projects.
Dustless Sanding System: Reduces cleanup time and health risks from dust.
Corner Trowel: Ensures clean, sharp inside corners.
Hawk and Trowel: For precise mud application on bigger jobs.
Investing in advanced tools can save time on tight deadlines, a priority for project managers overseeing multiple sites.
Drywall Sanding Techniques
Sanding demands patience and this pays high dividends. Done poorly, it can ruin a finish. But done well, it creates a surface that looks professionally done. Let’s dive into drywall sanding techniques that contractors and tradespeople can rely on.
Basic Sanding Techniques
Achieving a smooth finish requires technique over brute force. Here’s how you to do it right:
Work in Layers: Sand lightly after each coat of mud dries to avoid gouging.
Use Even Pressure: Apply consistent pressure to prevent uneven surfaces.
Check with Light: Shine a work light at an angle to spot imperfections.
Common Mistakes to Avoid:
Over-sanding, which exposes tape or creates dips.
Skipping dust protection—always wear a mask and ventilate the area.
Choosing the Right Sandpaper
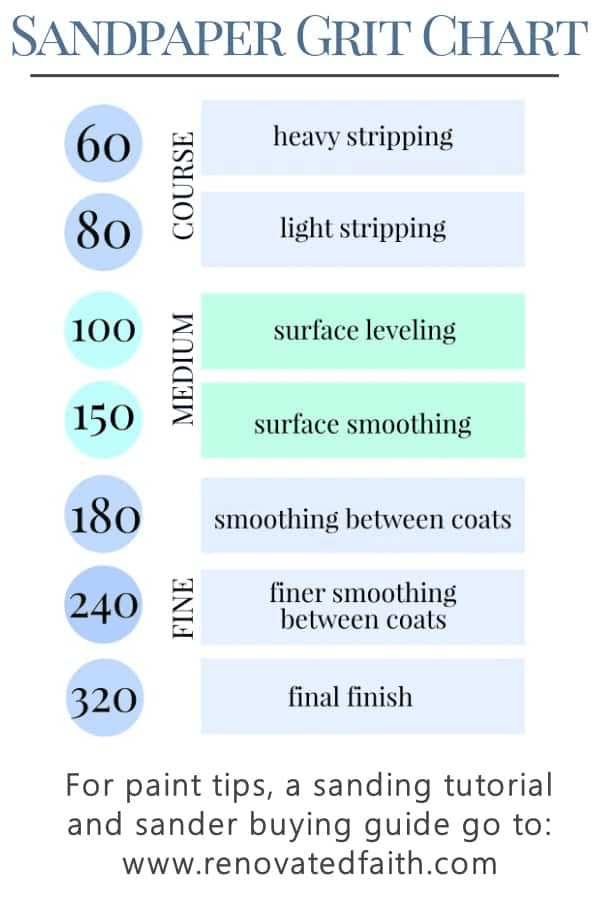
Grit size matters when sanding drywall. Here’s a quick guide:
80–100 Grit: For initial sanding to remove large bumps.
120–150 Grit: For smoothing after the second coat.
200+ Grit: For final touches before painting.
Pro tip for tradespeople: Keep a variety of grits on hand to adapt to different stages of the job.
Exploring Drywall Texture Types
Texturing adds character to walls, and knowing different drywall texture types can enhance your project’s appeal. It’s a skill that sets skilled laborers apart on the job market.
Popular Drywall Textures
Knockdown: A mottled texture created by spraying compound and “knocking” it down with a trowel. Great for hiding imperfections.
Orange Peel: A subtle, bumpy finish resembling citrus skin, often used in modern homes.
Smooth Finish: No texture, just a polished surface. Ideal for contemporary designs but requires precision.
Each texture suits different aesthetics and budgets, so contractors should discuss options with clients early on.
How to Apply Textures
Prepare the Surface: Ensure the drywall is at least at Level 3 finish.
Mix Compound: For spray textures, thin the joint compound to a sprayable consistency.
Apply Texture: Use a hopper gun for orange peel or knockdown, or a trowel for manual textures.
Finish: Let it dry, then knock down high points if needed (for knockdown texture).
Applying texture takes time to get right, so practise on small test areas initially.
Tips for a Professional Finish
Even with the right tools and techniques, small missteps can derail a drywall finishing job. Here’s how to avoid pitfalls and achieve pro-level results.
Common Mistakes and How to Avoid Them
Cracking Compound: Apply thin layers and allow proper drying time (24–48 hours per coat).
Visible Seams: Feather edges of mud wider with each coat to blend seamlessly.
Dust Everywhere: Use plastic sheeting and a dustless sander to contain mess.
Expert Tips for a Flawless Finish
Industry veteran John Smith, a drywall contractor with 20 years of experience, advises, “Always invest in good quality compound and tape. Cheap materials lead to cracks and callbacks, costing you more in the long run.” Another tip: Work in small sections to maintain control over drying times, especially while working on large projects.
For contractors and site supervisors, train your team on these nuances to reduce rework and complete projects on schedule.
Conclusion
Drywall finishing is a skill that can make or break the look of a construction project. From understanding the five levels of finish to mastering sanding techniques and exploring texture types, each step plays a vital role in delivering professional results.
Whether you’re a contractor aiming to impress clients or a tradesperson seeking flexible job opportunities, practicing these techniques will boost your reputation and efficiency. For larger or complex projects, don’t hesitate to bring in specialized talent through reliable staffing solutions.
Frequently Asked Questions (FAQ)
1. What is the drywall finishing process?
Drywall finishing involves taping seams, applying joint compound (mud), sanding for smoothness, and optionally adding texture. It prepares walls for painting or other finishes.
2. What are the 5 levels of drywall finish?
They range from Level 0 (no finish) to Level 5 (a skim coat for a flawless surface). Each level suits different project needs, with higher levels requiring additional time and cost.
3. How much should I pay for drywall finishing?
Costs vary by finish level and region. Expect $0.30–$0.45 per square foot for Level 1–3, and $0.65–$1.00 for Level 4–5, as per industry averages.
4. Is drywall finishing a good career?
Yes, it’s a stable trade with demand in construction and renovation. Skilled finishers can earn $40,000–$70,000 annually, with opportunities for growth.
5. How do I achieve a smooth finish on drywall?
Apply multiple thin coats of joint compound, sand lightly between coats using 120–200 grit sandpaper, and use a bright light to check for imperfections before painting.
